Class Notebook
Students and instructors can now access Microsoft OneNote via the Class Notebook tool. The Class Notebook comes with a Content Library for sharing content and resources with learners, a Collaboration Space where everyone in the class works together, and a Student Notebook where learners complete their individual work and instructors share feedback.
Class Notebook Creation Steps (Video)
1. Navigate to the Classbook Notebook to be taken through the steps to create and configure your Class Notebook. The first time it will ask to Sign in to OneNote.

2. Your course name will auto fill from what is in Banner/Canvas. You can change it at this time. Select Next.

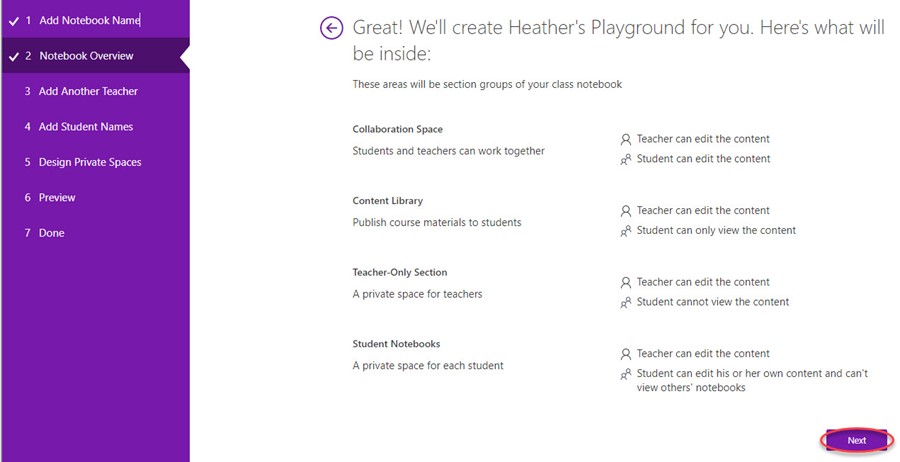
3. This screen shows you all the items the Notebook will contain and what access students and instructor have to each item. Select Next when ready to proceed.
4. If you have multiple instructors or teaching assistants, you can allow them access to the instructor side of the notebook now. If no one else needs access, leave the box blank. Select Next when ready to proceed.

5. Take the default to automatically add students from the Canvas course roster. Select Next to continue.

6. Add and remove sections from the Class Notebook. Select Next when ready to proceed.

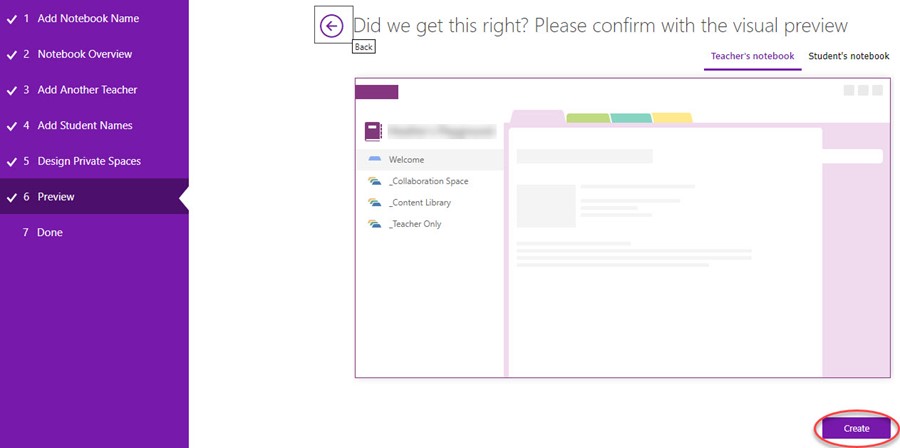
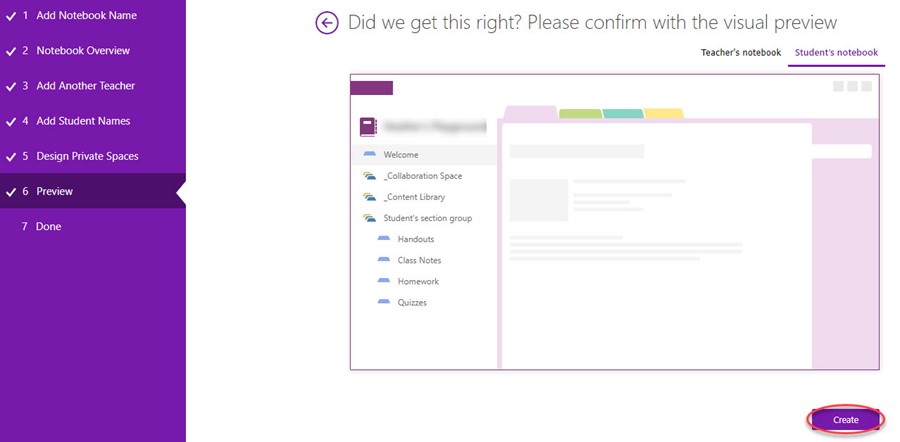
7. Review what instructors and students will see and have access to. Select Create if all looks correct. Select the back arrow if edits are needed.
Instructor View of the Class Notebook:
Student View of the Class Notebook:
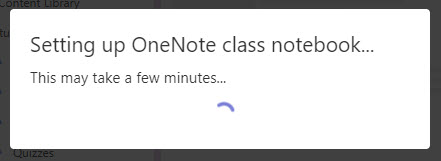
8. It will take couple of minutes to complete the creation of the Class Notebook.
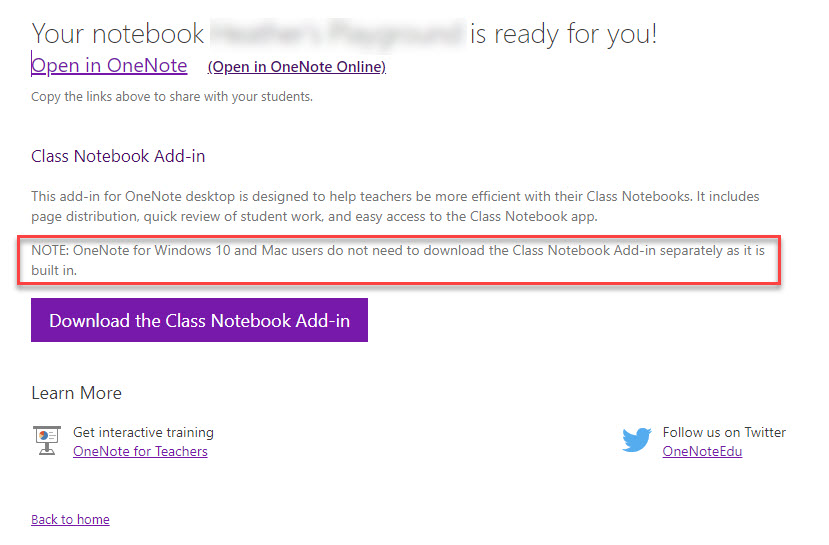
9. You will be given the option to install a OneNote Add-in, which is not needed if you already use OneNote for Windows 10 or Mac.
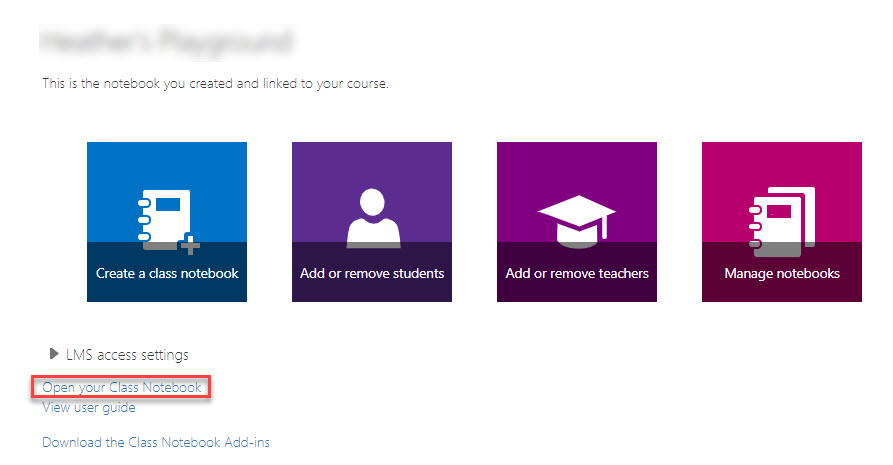
10. Once created, you will have access to the Class Notebook dashboard. Select Open your Class Notebook.
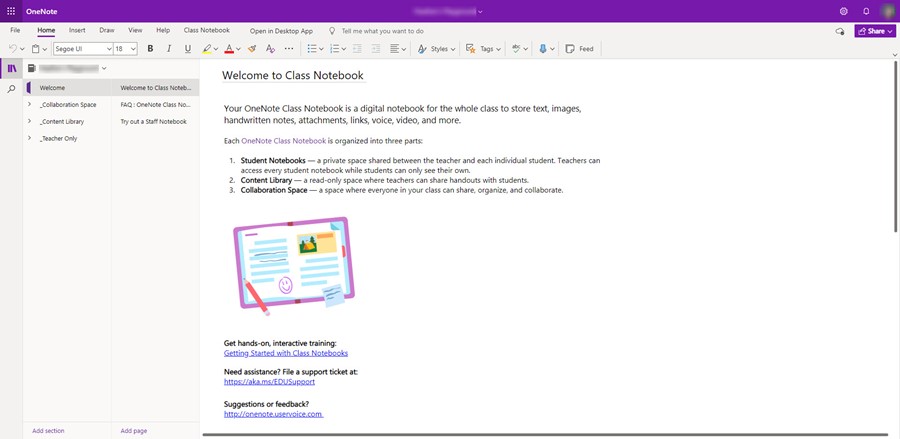
11. This will open the Web version of OneNote.
To learn more about OneNote, check out these modules: