Create a team using Windows
Changing a team's privacy settings: Public vs Private
Create a Channel
Customize and Manage a team
Create a team using Windows
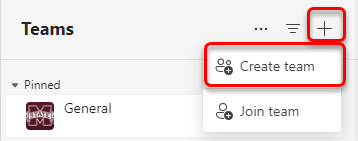
Click on the ' + ' plus sign in the right hand bar. Select Create team in the top right of the window to create a team. (On MacOS, click Join or create team and Create team.) Note: The appearance of the add team will be different based on the view that you have set in Team's Preferences.
 |
| Windows OS |
 |
| Mac OS |
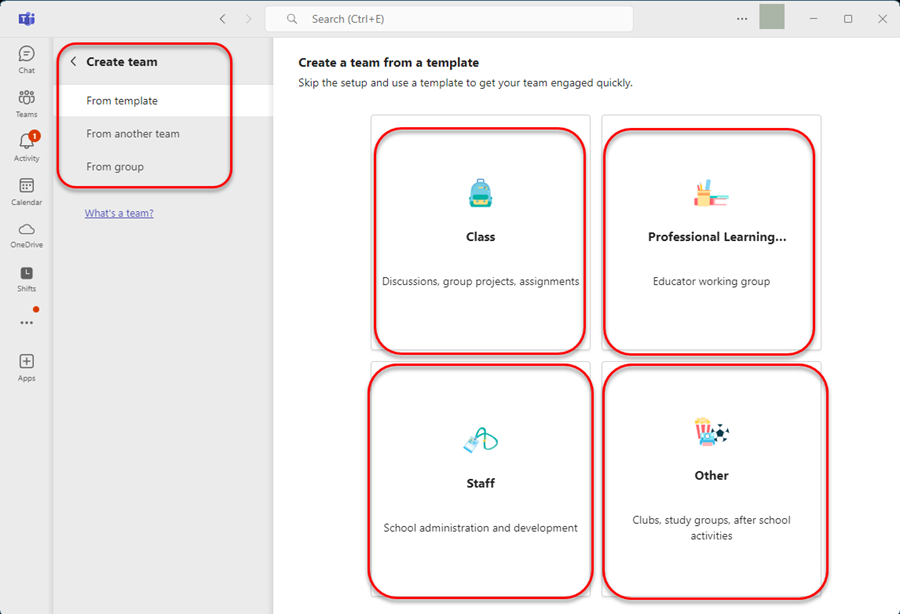
Select a team type. Choose from Class, Professional Learning, Staff, and Other.
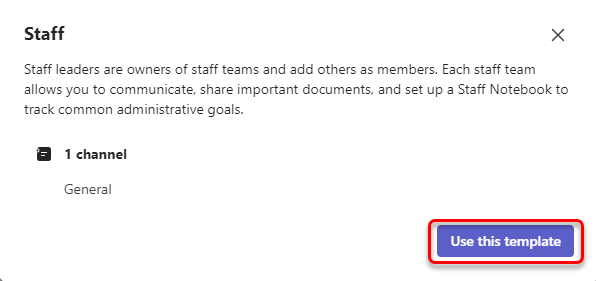
We will use Staff as an example. Click on Use this template.
Always choose Private as the privacy setting. This will require the owner of the team to add any new members. Any non-approved Public team will be changed to a Private team.
If you need a Public team, please open a Service Request to create a PUBLIC team to have it created.
If an existing Public team needs to be changed to a Private team, follow the directions below.
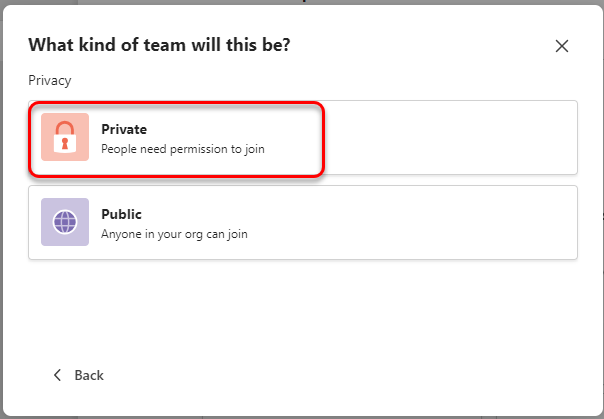
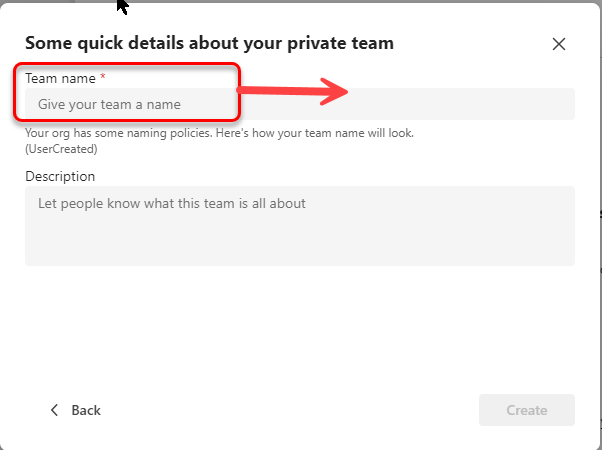
Enter the team name. The name should be descriptive and will have “UserCreated” appended.
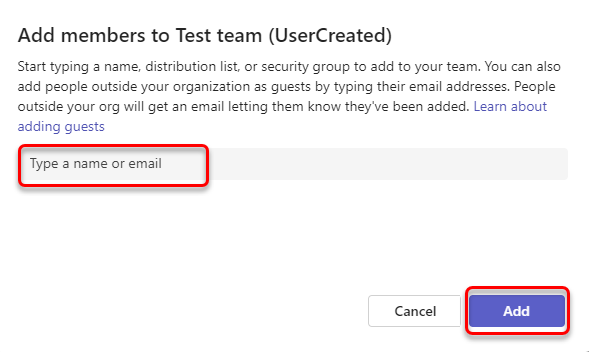
Click Add member to add a person or a group to a team. An invitation will be sent to their email account. Once they have accepted the invitation, the person or a group will appear under Members and guests.

Changing a team's privacy settings: Public vs Private
When creating a team, there are two privacy setting options: Public and Private. A PUBLIC team will allow everyone in the Mississippi State University Organization to join the team and see the files stored in the team. Due to the risk of having sensitive information made available to everyone in the organization, PUBLIC teams must be approved and created by ITS.
- Private Teams – Data of any kind (including Teams Meeting recordings) shared in these Private spaces are accessible only by members of these Teams/groups.
- Public Teams – Data of any kind shared in these spaces (including Teams meeting recordings) is accessible by the whole organization including Staff and Students. This leaves the University open to a data breach. Owners of public Teams/Groups should make sure all members are aware the settings are public.
- Open the team in Microsoft Teams.
- Select the ‘More Options’ icon at the top of the page. Click Your teams and channels.
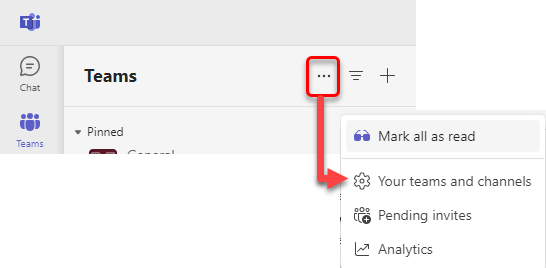
This window will give you a list of all your teams.
If your team's Type column has a it is a PUBLIC team.
If the Type column has a padlock, it is a PRIVATE team.
If the team's Type needs to be changed, click the ellipses ' … ' at the end of the entry.

Choose Manage team.
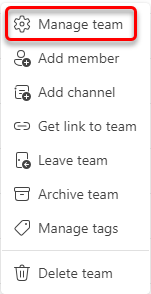
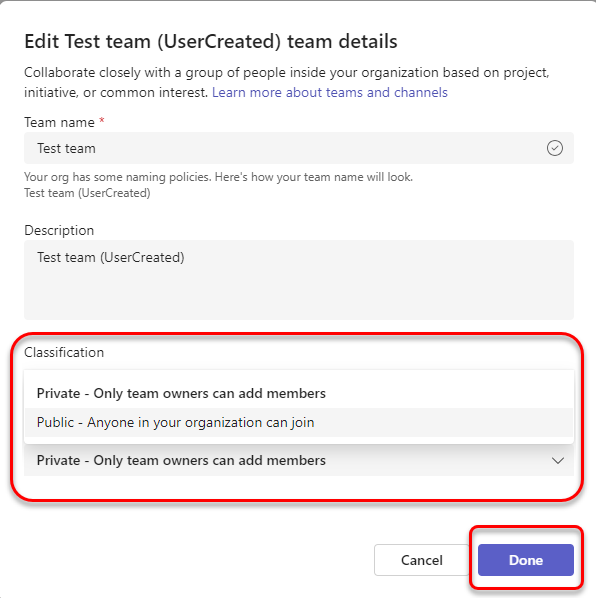
Click Settings. Click Edit.

At the bottom of the window under Privacy choose either Public or Private in the dropdown menu.
Create a Channel
Each team has a General channel for announcements and information. To add an additional Channel:
- There are two ways to create additional Channels. You can click on the … and choose Add Channel. Or you can click on Channels then +Add Channel.

-
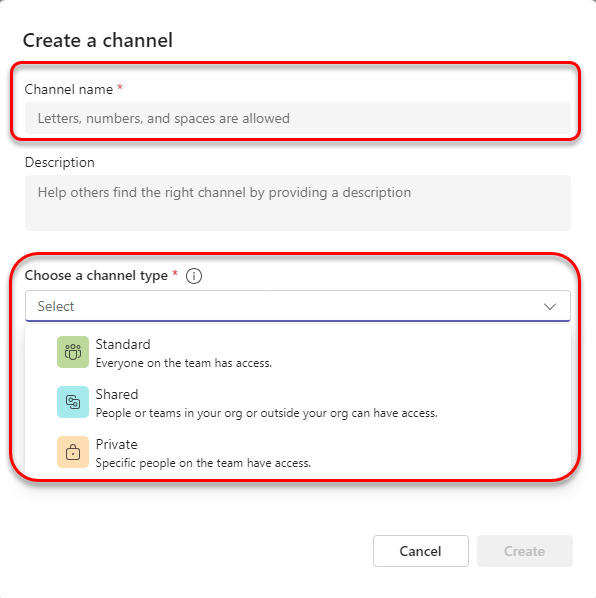
First, name your Channel. Then Choose a channel type.
-
Standard channels are open for all team members and anything posted is searchable by others.
-
Private channels are for discussions that shouldn't be open to all team members.
-
Shared channels are for collaborating with people inside and outside your team or organization.
Customize and Manage your Team
-
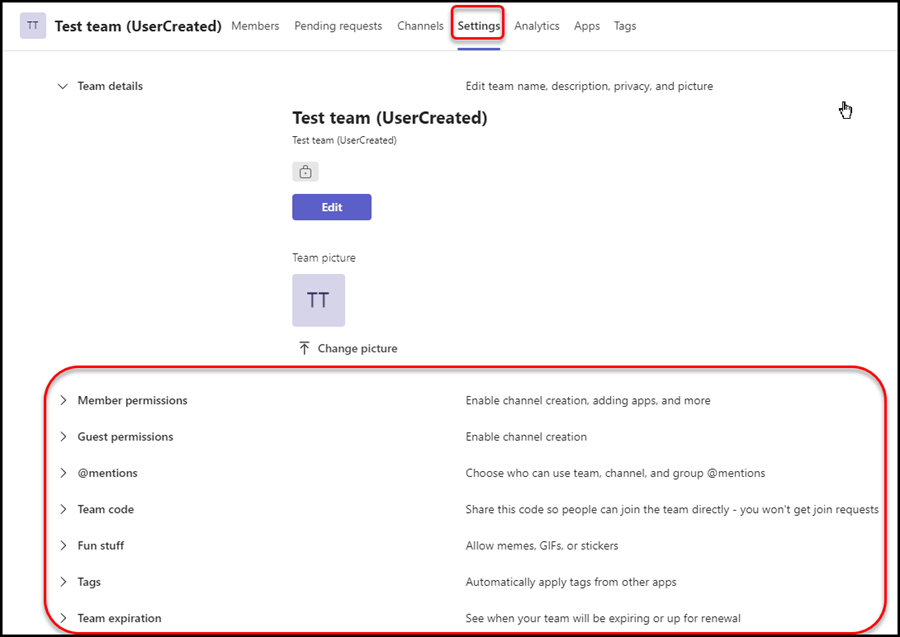
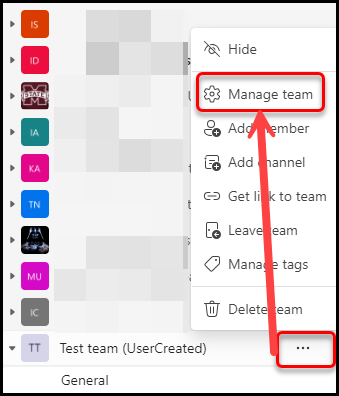
Next to the team name, select the three dots (Ellipsis) . . . for More options next to the team name. Select Manage team to configure Members, Channels, Settings, and Apps.
-
Select Settings to change more team options.
