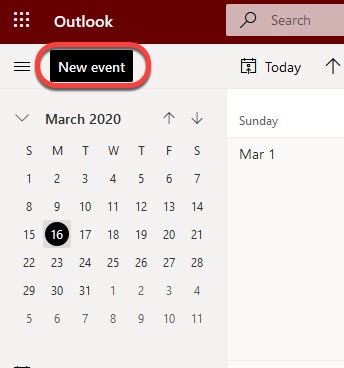
1. To add the Cisco Webex Add-in to your Outlook online account, go to outlook.msstate.edu in a web browser. Log into your Outlook account. Click on Calendar icon.

Click New Event.
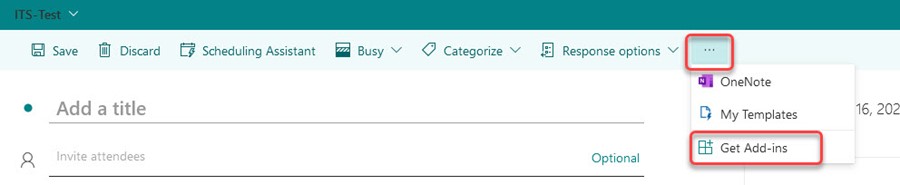
2. In the top right corner of the New Event toolbar, click the "... " menu. Click Get Add-ins.
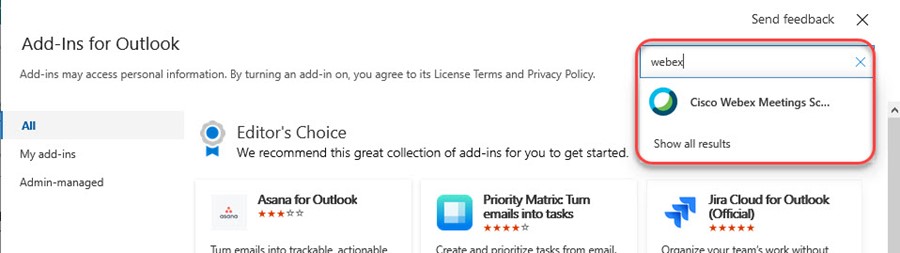
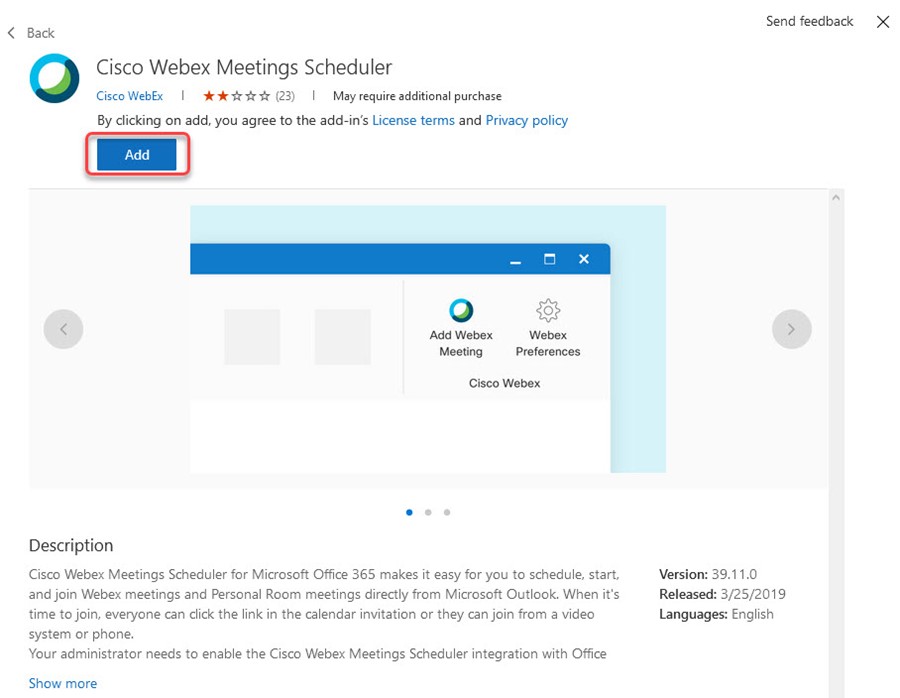
3. In the top right corner of the Add-Ins for Outlook window search for webex in the search bar. Click on Cisco Webex Meetings Scheduler in search results.
4. Under Cisco Webex Mettings Scheduler, click Add.
5. You will be prompted to Add-in pinned to the email and calendar items for easy access. Click Pin add-in. Close the window(s).
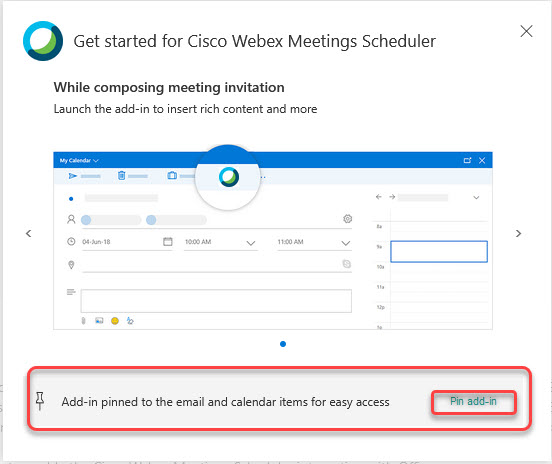
6. It will display as Added. Close the window.

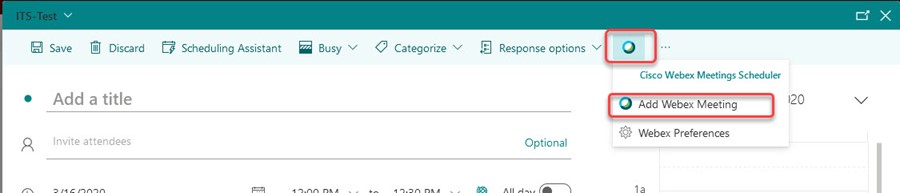
7. The Cisco Webex icon will be displayed in the top right corner of the New Event toolbar. Click Add Webex Meeting.
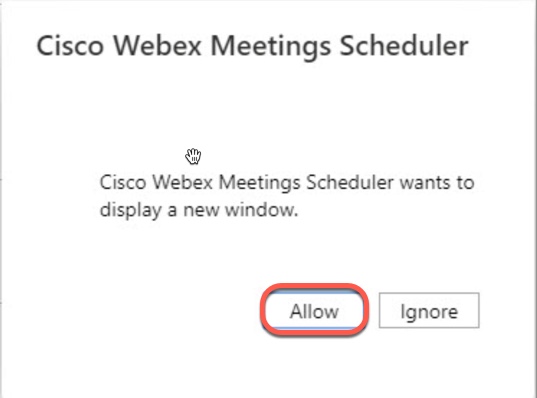
Click on Allow.
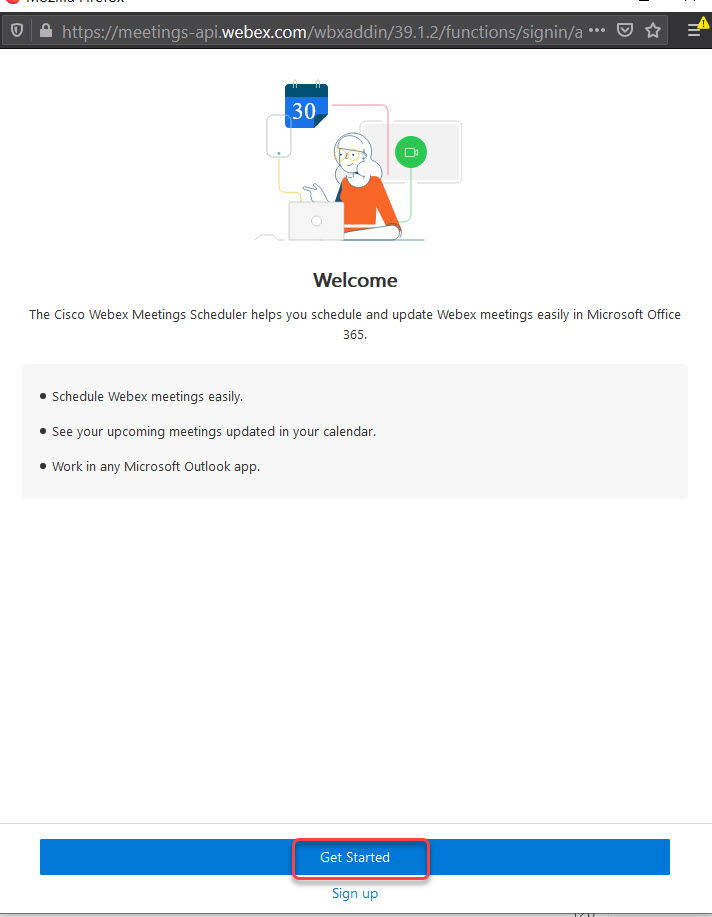
8. Click Get Started.
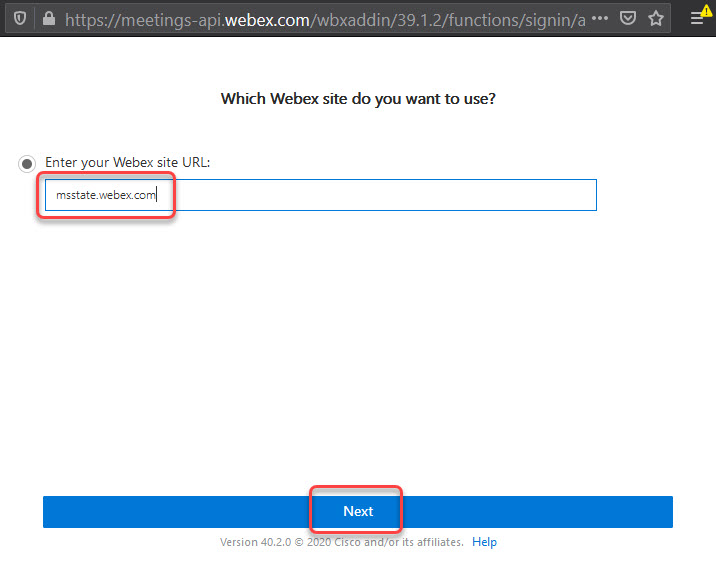
9. In the Enter your Webex site URL field, enter msstate.webex.com Click Next.
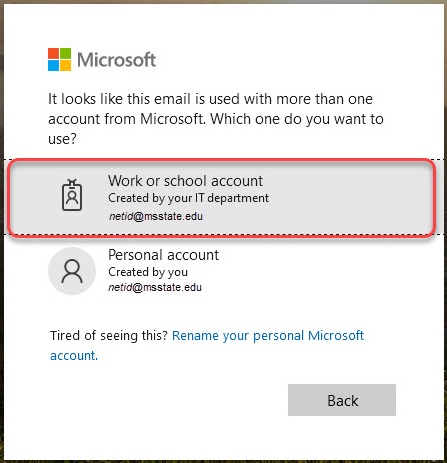
10. On the Sign in page, enter your netid@msstate.edu.

11. Click Work or school account.
12. Enter your NetPassword.
13. Click Add Webex Meeting.

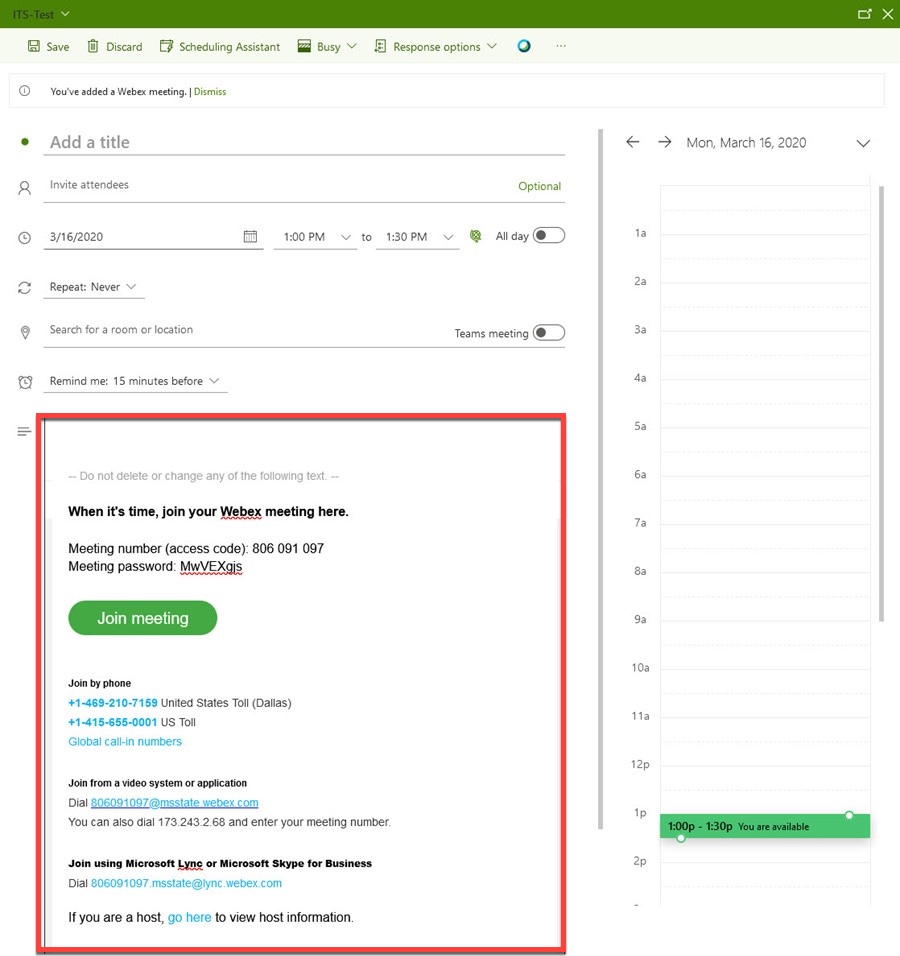
14. Here is an example of a meeting: