Creating an Event in Webex
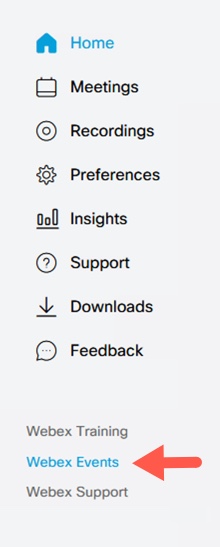
- Log into Webex (msstate.webex.com) with your netid@msstate.edu email address, NetPassword, and Duo authentication. At the bottom left of the sidebar click Webex Events.
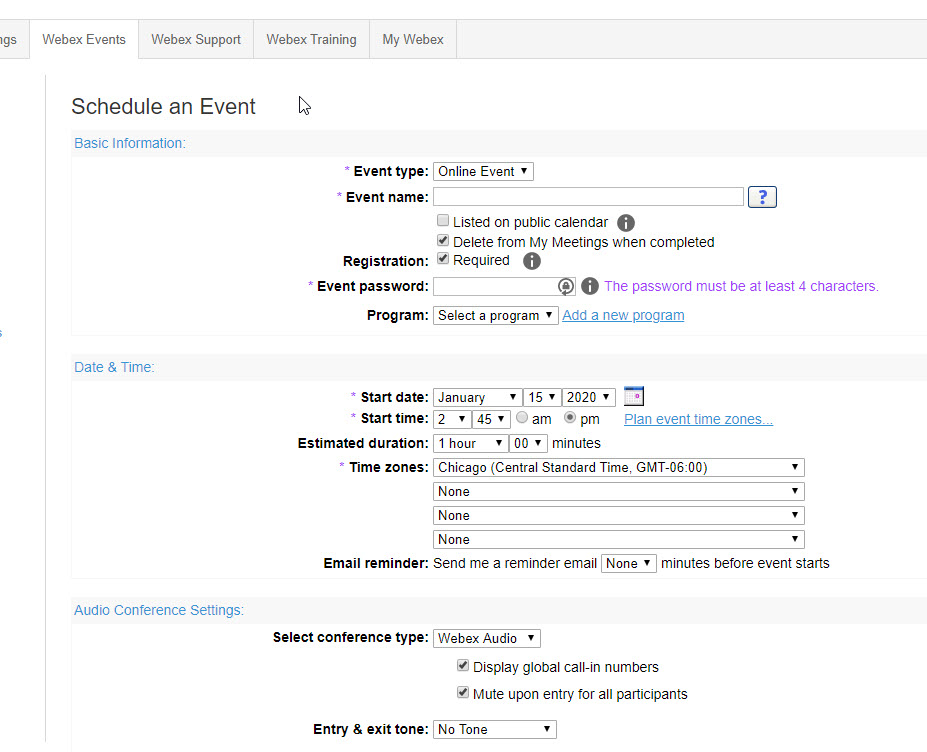
- In the left sidebar, click Schedule an Event.

- On the Schedule an Event page, give your event a name. If you want anyone to attend select the box for Listed on Public Calendar.
If you do not want the event to be password protected deselect the box next for Registration: Required.
Under the Date & Time heading, enter the date of your event, the start time, and estimated duration. Note that if you choose an ending time, Webex will close the meeting after that time has elapsed. Therefore, make the time longer than you think the meeting will last.
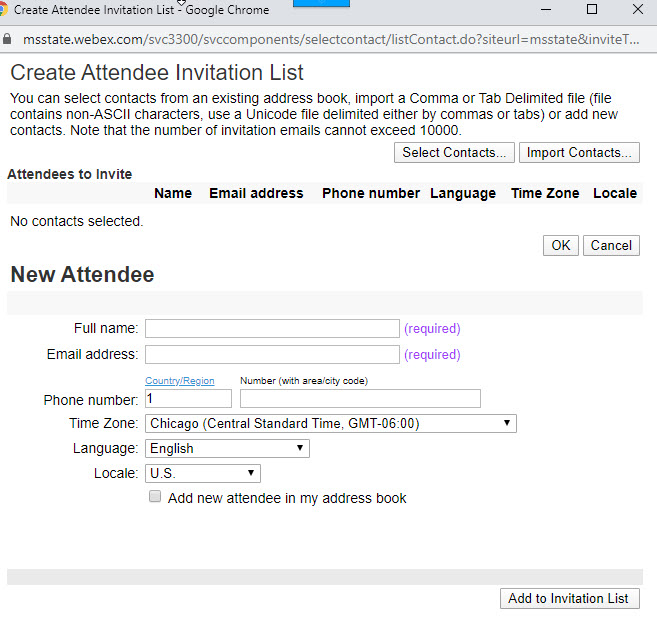
- Scroll down the page to the Attendees & Registration section. If you are inviting attendees, click Create invitation list.
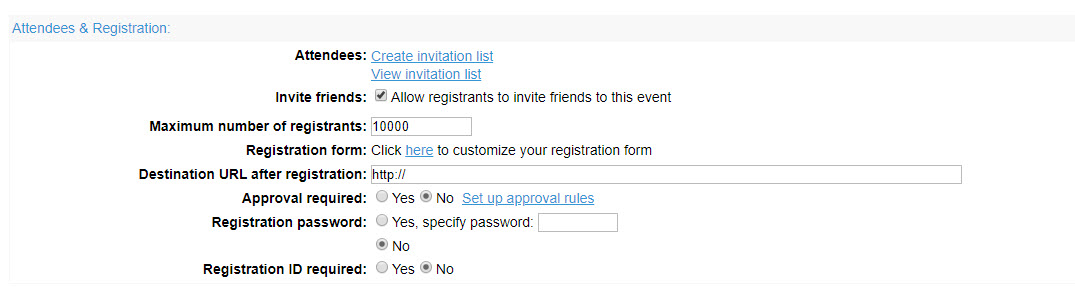
- If you clicked to create an invitation list, a pop up window appears. Enter the name and email addresses of the people who are invited. Click Add to Invitation List.
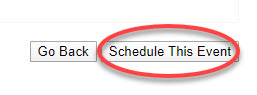
- Back in the event set up window, scroll to the bottom and click Schedule This Event.
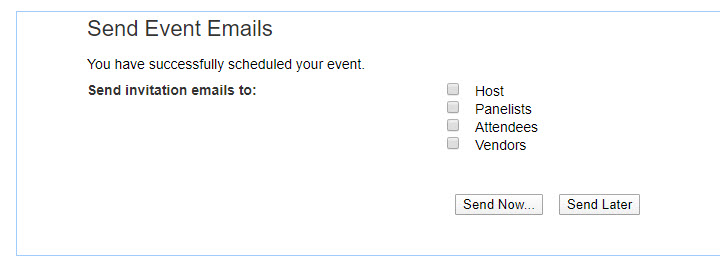
- In the next window, you can send the invitation to the attendees at that time or choose send later.
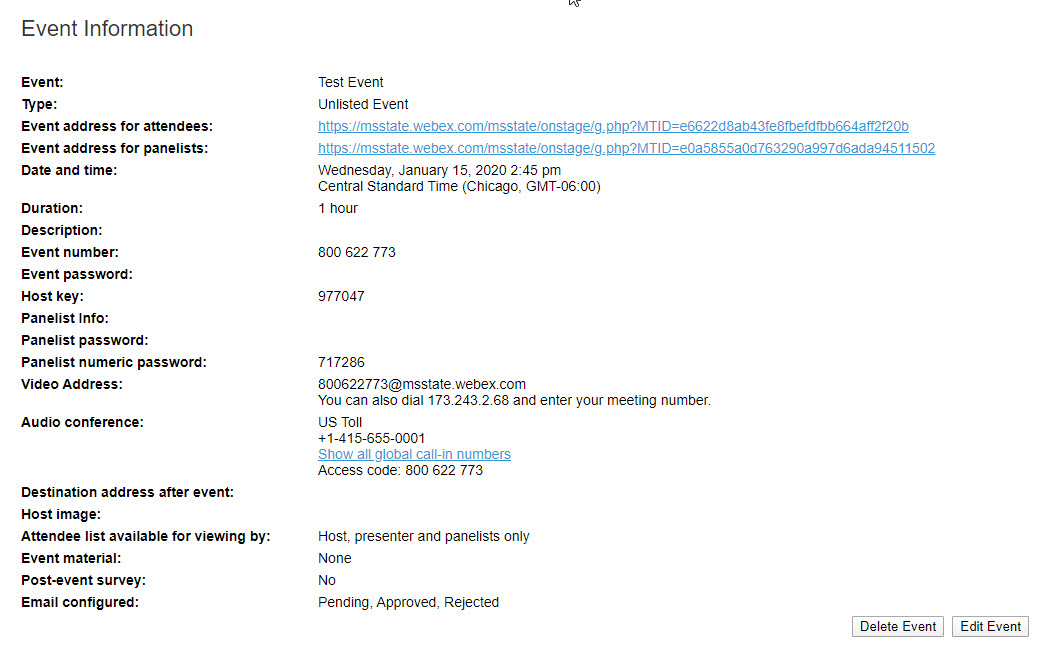
- Once the event is scheduled, you are taken to a page with the Event Information. If something needs changing, you may edit the event or delete the event. NOTE: You cannot edit an event if the event is currently happening. You will have to end the event or wait until it is over before editing.
You will receive an email with the event information because you scheduled it.