Note: This is for the Legacy version of Outlook for Mac. If you are running an older version than Microsoft Office 365, then contact your desktop support person to upgrade to the latest version of Microsoft Office.
1. In Outlook 365, click Mail in the bottom-left corner of the window.

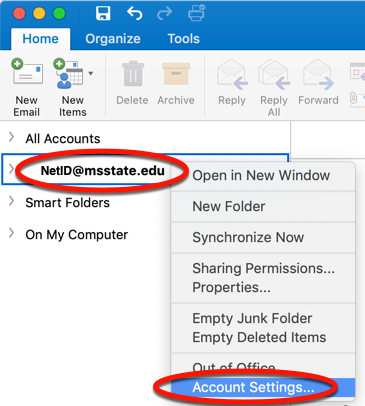
2. Right-click (or Control Click) on your email account name in the folders pane on the left side of the window and select Account Settings.
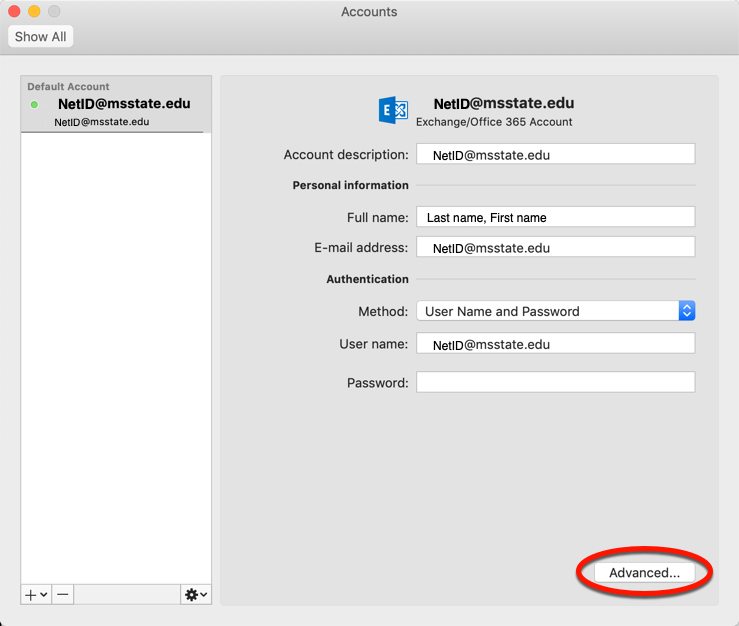
3. Click the Advanced... button in the Accounts window.
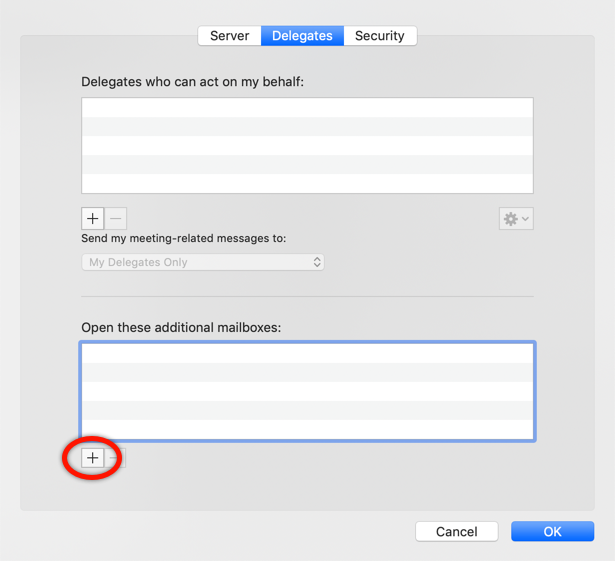
4. Click the Delegates tab.

5. Click the + button under the Open these additional mailboxes section to specify a shared mailbox.
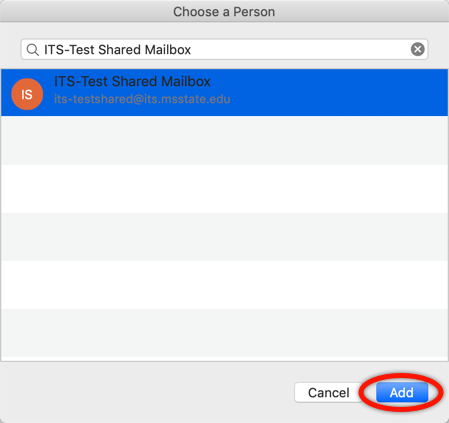
6. Type the name of the shared mailbox in the Choose a person window.
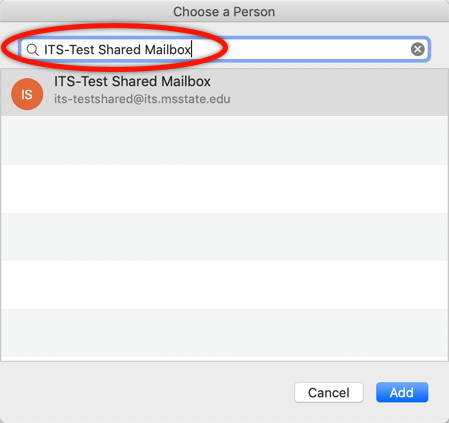
7. Select the shared mailbox to be added. Click Add.
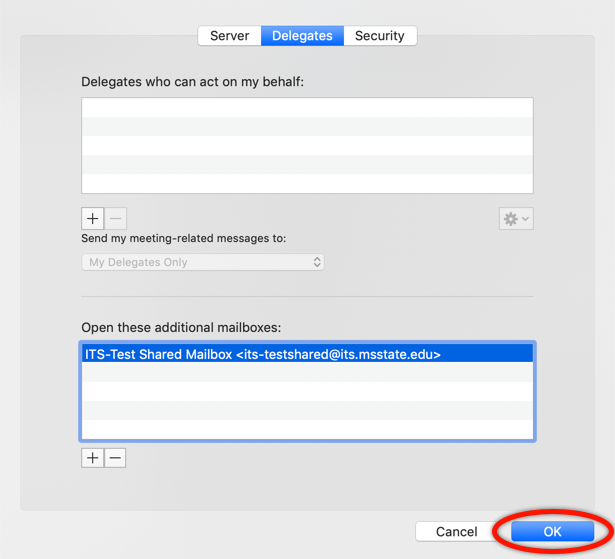
8. The account now appears in the list of additional mailboxes. Click OK.
The shared mailbox now appears in your list of email folders under its own heading allowing you to view, send, and manage emails for this shared account. If it does not appear right away, restart Outlook. This refreshes the connection to the server.

9. You have successfully added the shared mailbox.