Accessing Webex
The difference between Webex Meetings and Webex Events is that in Meetings, user can present information, share applications, and collaborate on projects in a centralized space. Webex Events is designed for large-scale online events such as webinars, events and conferences.
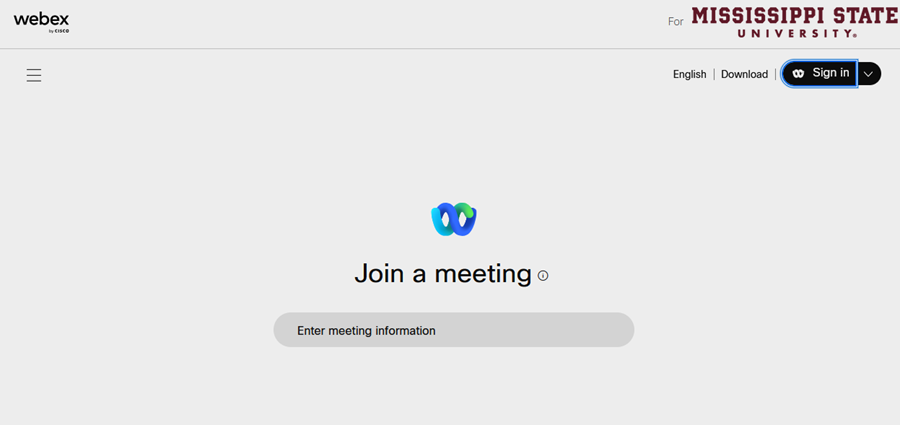
1. Visit msstate.webex.com in a web browser. Click the Sign in button in the upper left of the page.
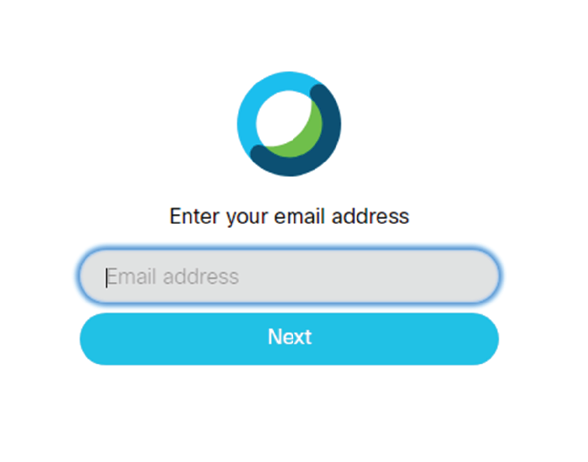
2. Enter your netid@msstate.edu email address, then click Next.
3. You will be redirected to an MSU CAS login page. Enter your NetID & NetPassword, then click LOGIN.
4. Authenticate with Duo, when prompted.
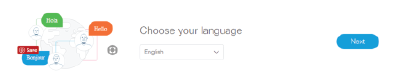
5. When signing in for the first time, choose the language you prefer to use from the drop down menu, then click Next.
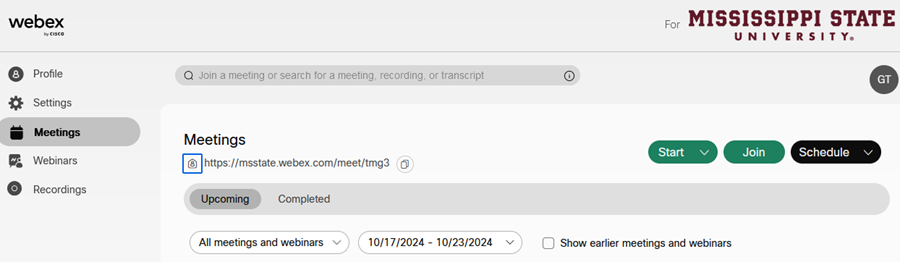
6. You are now in your main Webex window.
Starting a Meeting
1. Click Start Meeting to begin a new meeting.
2. When your meeting launches, select your audio and video devices. You have options at the bottom of the window to upload documents to participants, record the meeting, view participants, chat with everyone, create a poll, and switch to desktop app. Clicking the red X will end the meeting.
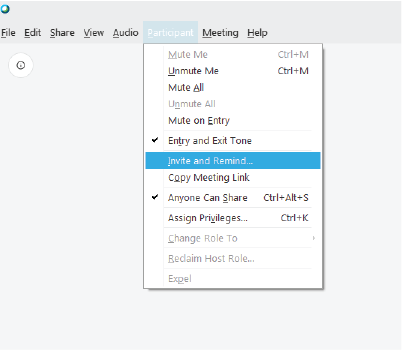
3. To invite others, click the Participant drop down menu, then click Invite and Remind.
4. Add participants using their email address in Invitees:, then click Send.

Scheduling a Meeting
1. To schedule a meeting from the main Webex page, click the Meetings link on the left.
2. Click Schedule a Meeting.
3. Enter the following:
Meeting type: Choose the meeting type you would like to schedule.
Meeting topic: Enter a topic or subject for your meeting.
Meeting password (Optional): Enter a meeting password, if desired.
Date and time: Choose a date and time for your meeting.
Attendees: Enter the email addresses of the attendees you would like to invite.
4. Click Schedule to schedule your meeting.