Create a Web Form
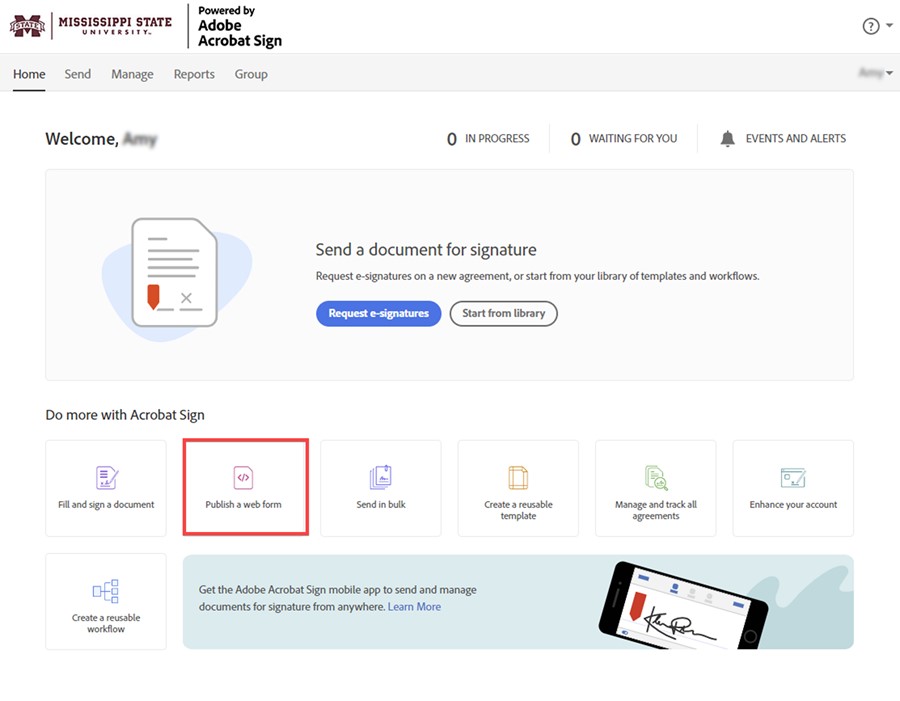
1. From the Adobe Acrobat Sign Home page, click Publish a web form.
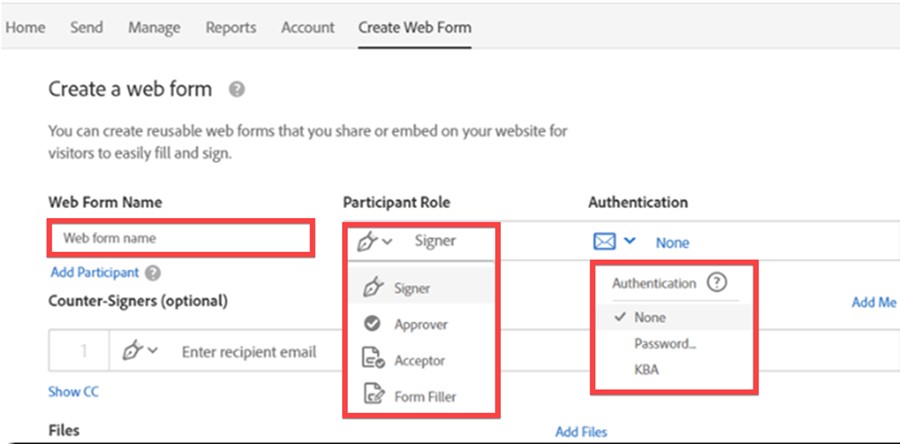
2. Enter the Web Form Name. If you add a file without entering the web form name, the web form will adopt the name of the file. You can only edit the name of the wb form while it is in the Draft status. One the web form is created, the name field is locked.
Under Participant Role, choose between:
Signer - Signers must apply a signature in addition to any other fields that are required.
Approver - Approvers can fill fields, but are not required to apply a signature.
Acceptor - Acceptors, like Approvers, can fill field content but are not obligated to provide a signature.
Form Filler - Form Fillers can only fill fields, and may not have a signature field applied to them.
Under Authentication, choose between:
None - This options uses only the email verification after the web form is submitted, if configured to do so.
Password - The password option requires that the recipient enter a password before they can view the document.
Knowledge-based Authentication (KBA) - KBA can be enabled as an authentication method if your account is configured to allow unlimited KBA transactions. KBA is only valid in the United States.
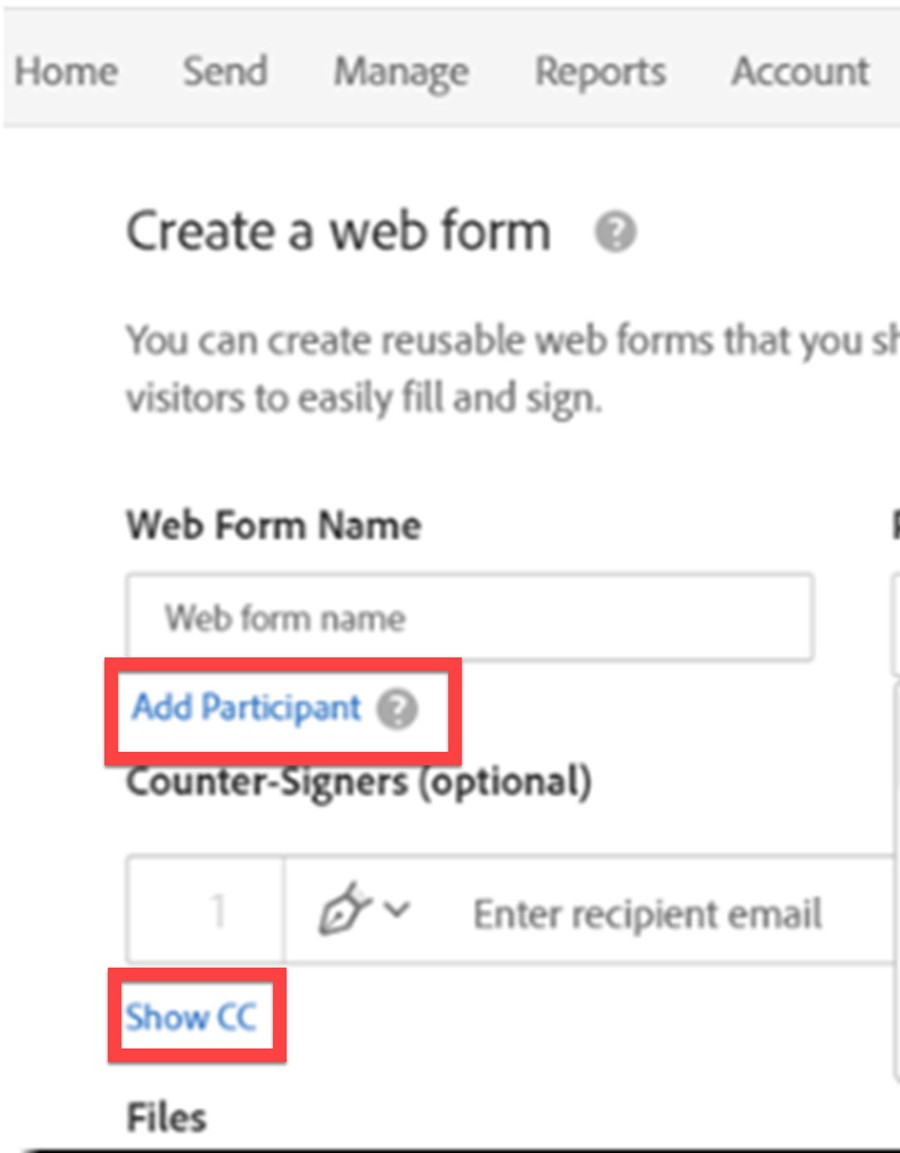
3. Add Participant (optional)
Clicking the Add Participant link adds an additional participant to the web form.
If you are using the CC function, click Show CC link, then enter the email address(es) you would like to automatically be included in the agreement completion emails.
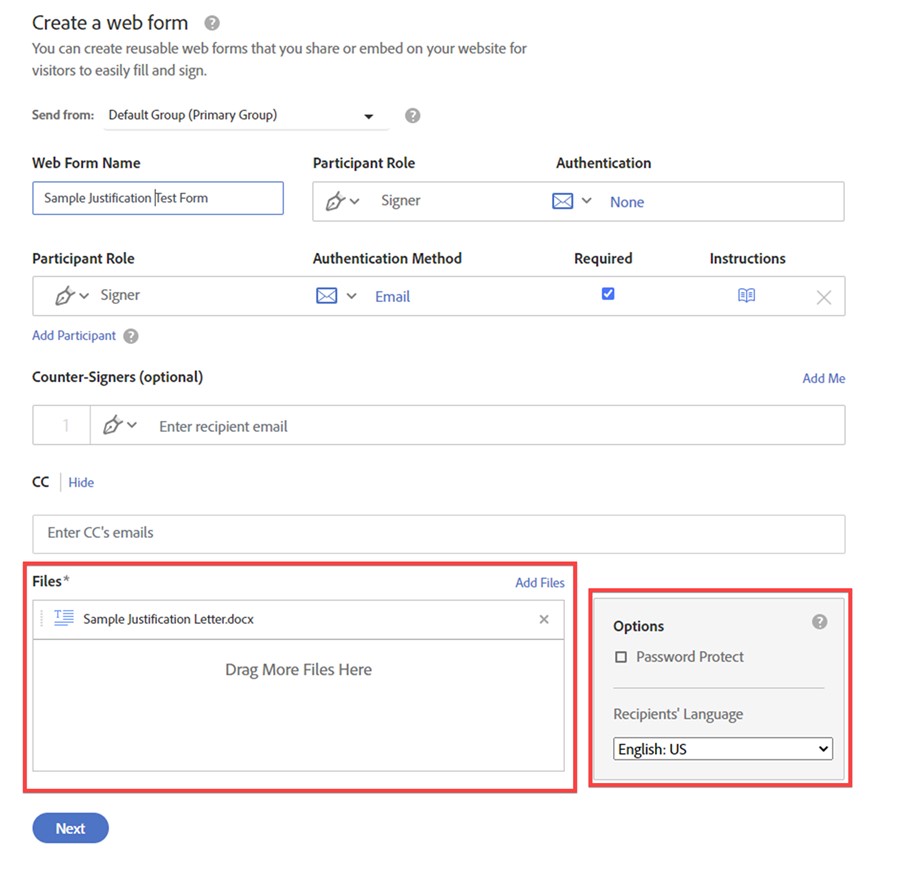
4. Drag and drop files that you want to use as the base for your web form into the Files section, or click Add Files, and navigate to the document.
Configure the Options with Password Protect and Recipient's Language.
Password Protect - If you want to apply a password to open the final PDF produced by the web form signing, check the box. You will be prompted for the password.
Recipient's Language - This setting will dictate the language used for the on-screen instructions, as well as the email notifications related to the web form.
5. Check the Preview & Add Signature Fields option, and then click Next.
6. The page will refresh and display the uploaded file(s) in the Authoring environment. Drag the necessary fields from the right side of the page, on to the document as needed. Make sure that you place at least one signature for each signer. Email fields are optional, but if there isn't a field on the form itself, Adobe Acrobat Sign will prompt the participant to provide an email. Once all the fields are placed, click the Save button in the bottom-right corner. Saving the document at this point will launch the web form as an active URL.
Note: If you leave the authoring window without saving, the web form is saved as a Draft on the Manage page.

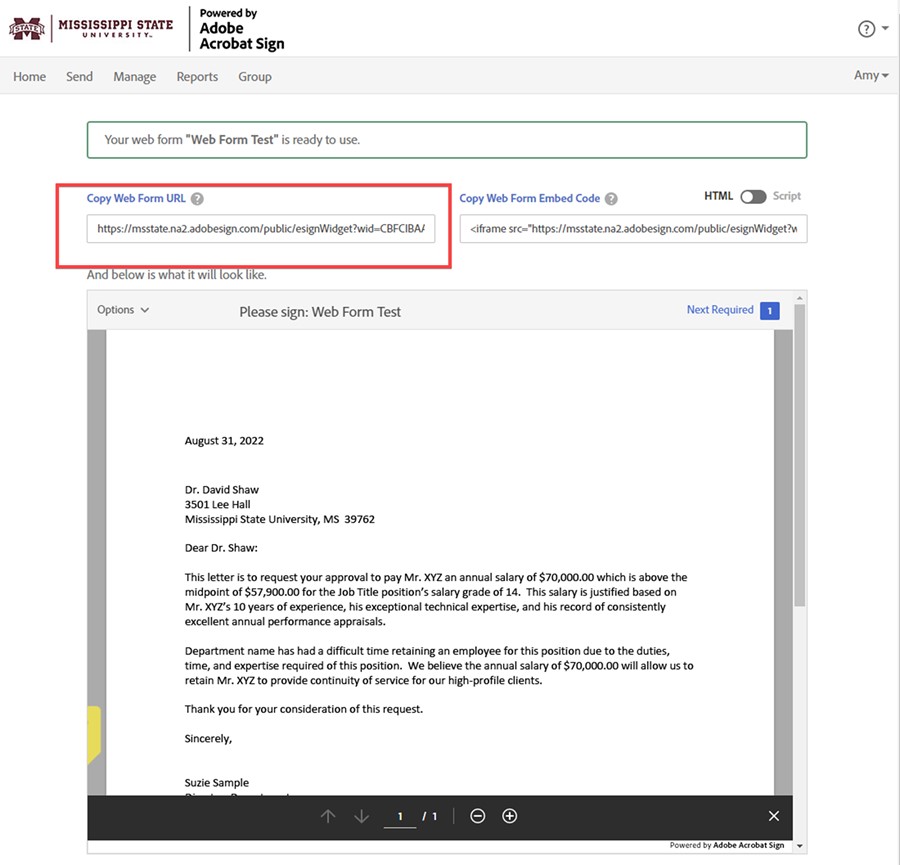
7. You will arrive at the web form post creation page. Here you can get the URL to the web form and the iframe/JavaScript code you can use to embed it.
For more information, contact the ITS Service Desk.